✏️ Step-by-Step Magic
The Cozy Curl: Establishing the Foundation
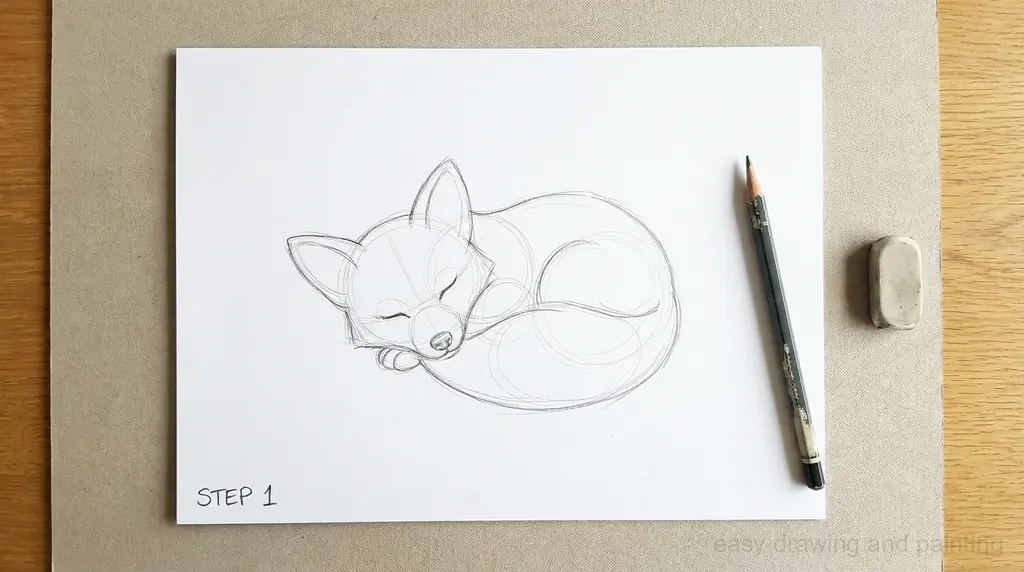
Every great drawing starts with a solid foundation. Since our fox is curled up and sleepy, we are going to use two main ovals: a larger one for the main body mass and a slightly smaller, tilted one for the head placement. Draw these lightly with your graphite pencil. Connect them with a gentle ‘C’ curve that suggests the spine. Notice how the shape already suggests a soft, comfortable pose!
Framing the Face and Placing the Ears
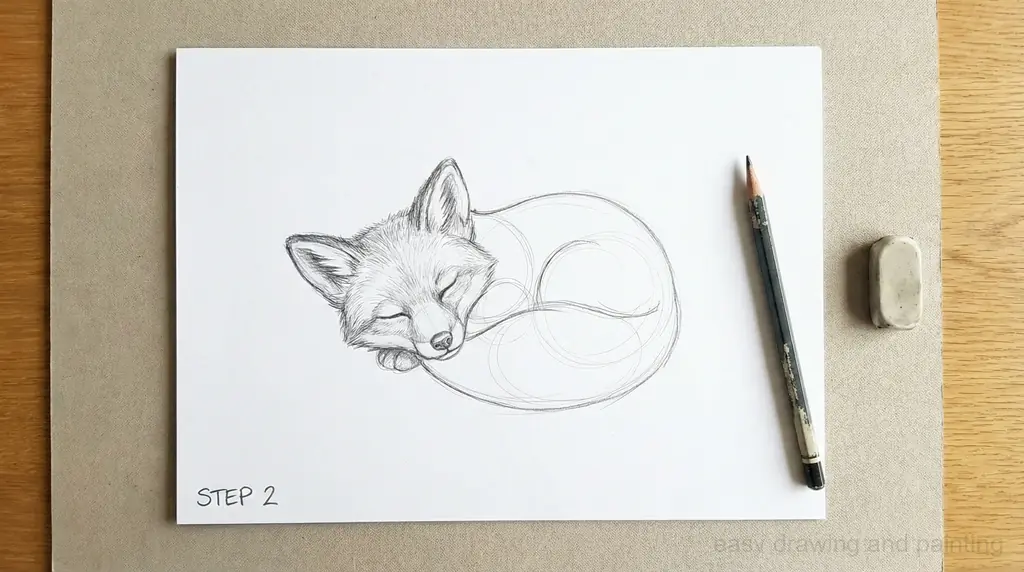
Now, let’s define the head. Using the head oval from Step 1, refine the shape to create the subtle point of the muzzle. Foxes have sweet, triangular ears, so place two small triangles pointing upward near the top of the head. We are going for a peaceful look, so we’ll draw the eye as just a simple, short, closed curve—a happy, sleepy line. Start sketching the front contour of the chest and belly.
Fluff Detail: The Bushy Tail and Tucked Paws
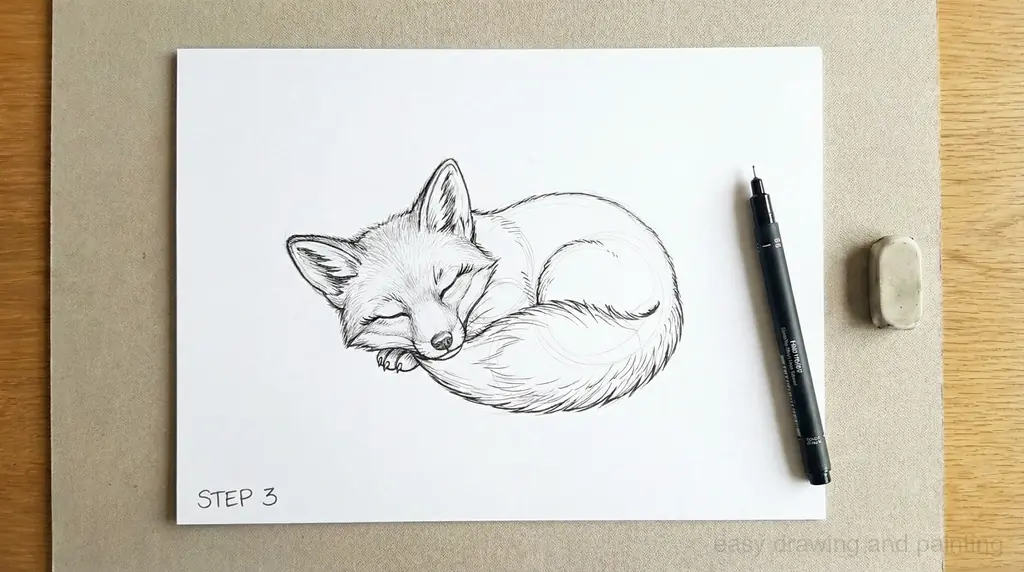
The tail is what gives our baby fox its character! This tail should look like a soft, fluffy cloud wrapping around the body for warmth. Sketch a large, curved shape that starts near the spine and covers the lower body. Next, let’s add the tucked paws—they are tiny and simple, just little bumps peeking out from beneath the chest. Take your fine-tip marker and trace over your favorite graphite lines, adding a slight 'fuzz' texture where the fur would be thickest (like the cheeks and tail edges).
The Clean Blueprint: Preparing for Color
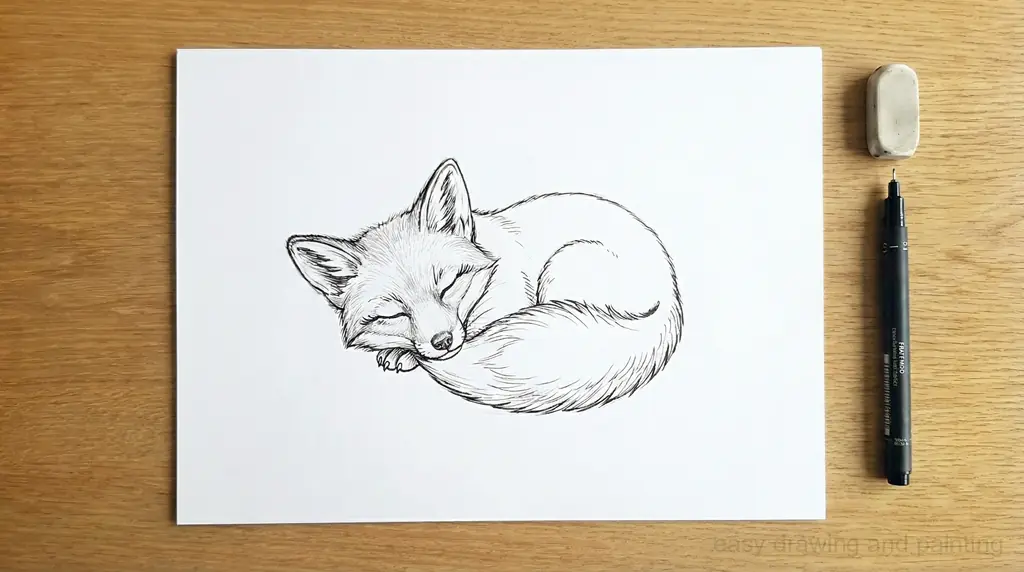
This is the satisfying moment! Erase all your underlying graphite pencil marks until only your clean black ink lines remain. Look closely for any lines that might need minor touch-ups. This finished line art, or 'blueprint,' is now a perfect coloring page. Notice how the simple, uninterrupted lines really make the cozy pose stand out. Let’s get ready to make this foxy friend warm and vibrant!
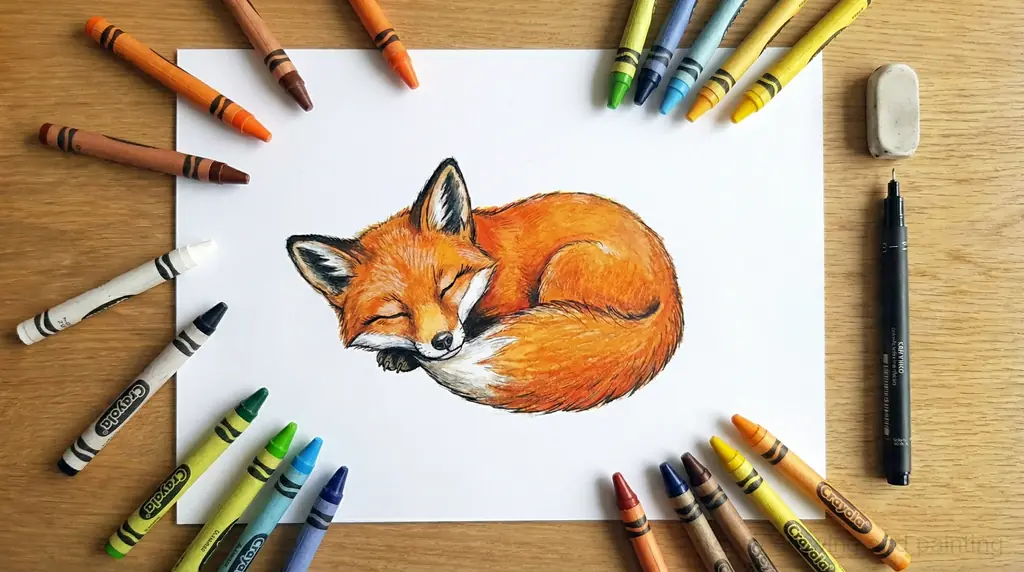
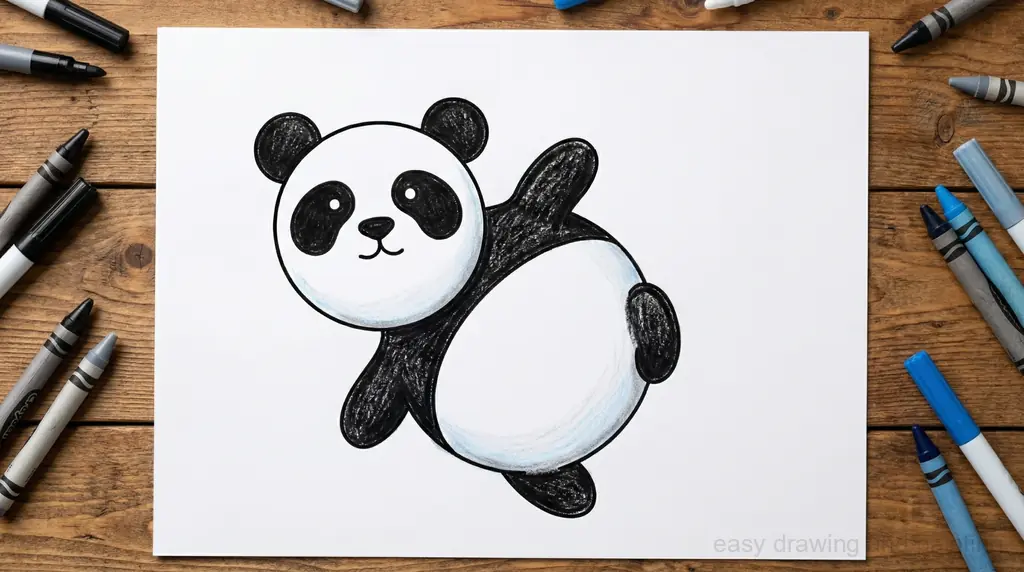
Adding Warmth and Character with Color

Time for the magic! Use your warmest colors—russet oranges, burnt sienna, and creamy white. Place the dark accents strategically: on the tips of the ears, the little 'socks' on the paws, and the tail tip. Keep the belly, chest, and muzzle area a soft cream or white. Use your crayons or pencils with a gentle texture to mimic the look of soft fur. Congratulations, you’ve brought this sweet, sleeping creature to life!

Community Drawings & Comments
Comments are coming soon! Stay tuned to share your masterpieces.