✏️ Step-by-Step Magic
Mapping the Mini Pots
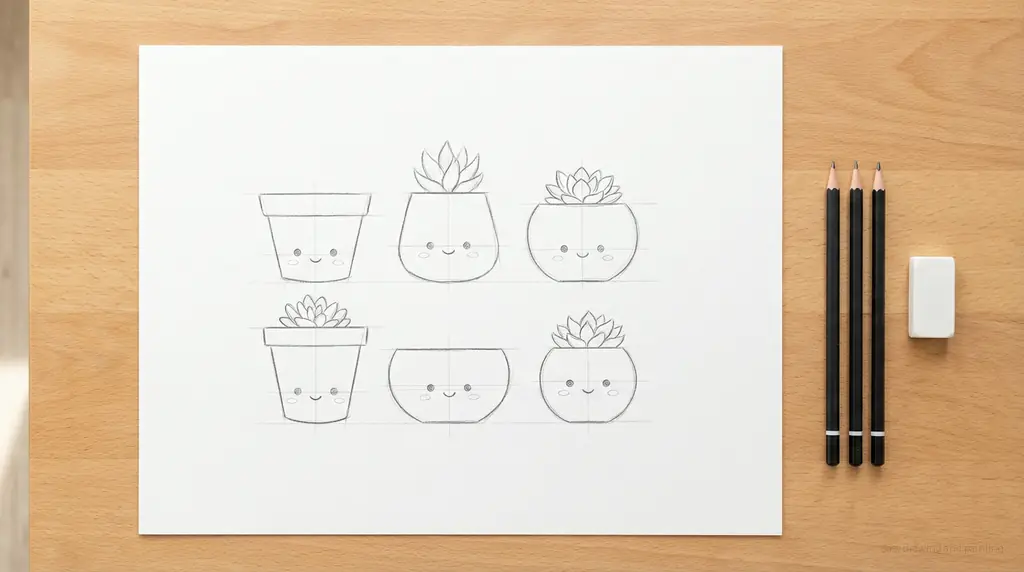
Every great plant needs a home! Before we draw the foliage, let's sketch five simple containers in a pleasing cluster. Use light, loose pencil strokes to define the base shapes. Think truncated cones, rounded bowls, and simple cylinders. These anchors help establish the scale and composition of our tiny garden.
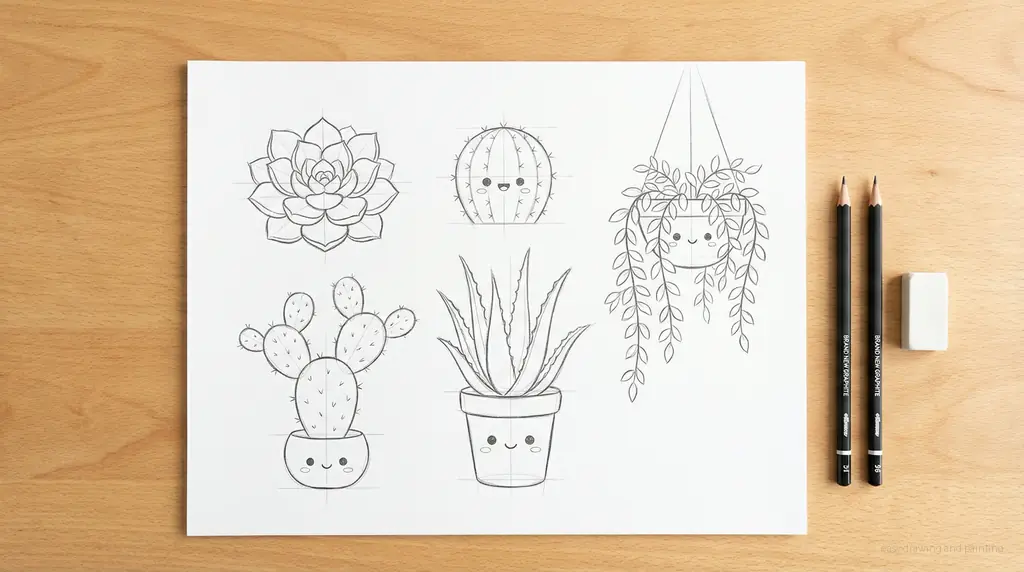
Building the Basic Greenery
Now, let’s introduce the plants! We’ll make sure each one is unique. Use basic shapes to represent the bulk of each plant: a fan shape for a prickly pear, layered curves for a rosette succulent, a simple rounded barrel for a cactus, elongated ovals for an aloe, and dangling chains for a trailing plant. Keep your lines open and airy—no need for detail yet!
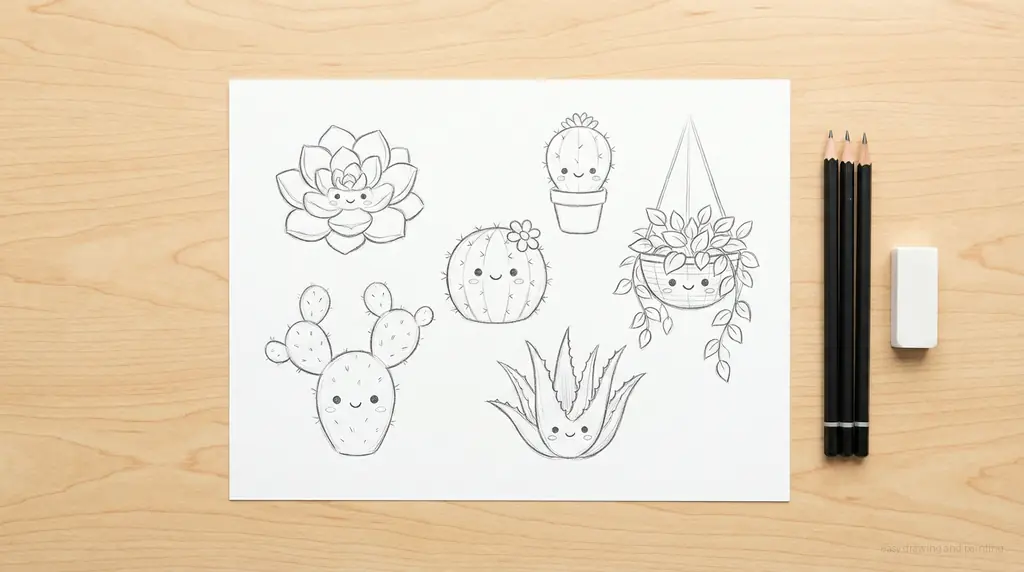
Infusing Kawaii Charm and Detail
This is the fun step where we bring the charm! Give each plant a distinct kawaii personality by adding large, simple oval or circular eyes and a small, curved smile right on the plant body. Then, finalize the details: add small dots or tiny 'V' shapes for cactus spines, define the succulent leaves, and sketch the rim of the soil. Gently erase any overlapping construction lines to clean up your sketch.
Creating the Clean Line Art (The Coloring Page)
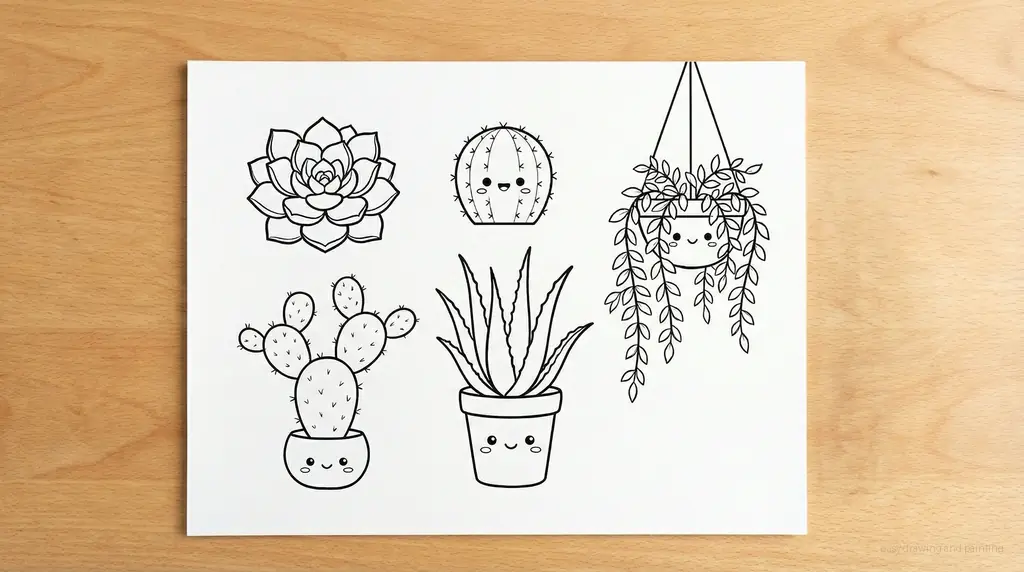
It’s time to commit to ink! Take your fine-tip marker and trace over your finalized pencil lines. Remember to use clean, confident strokes. Once the ink is completely dry, use your eraser to lift every trace of graphite. This step reveals the finished structure—a sharp, perfect coloring page ready for vibrant colors!
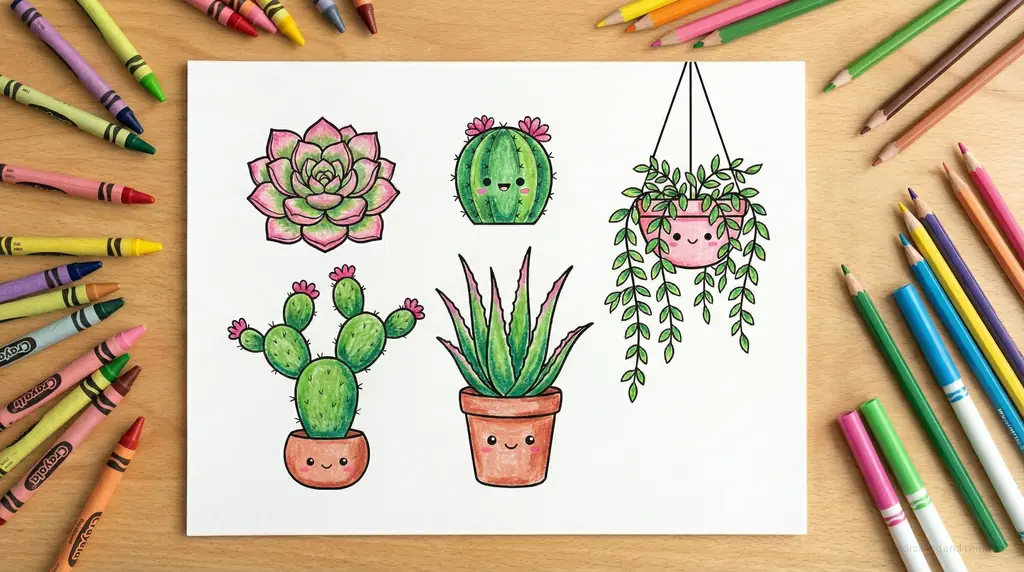
A Burst of Desert Color

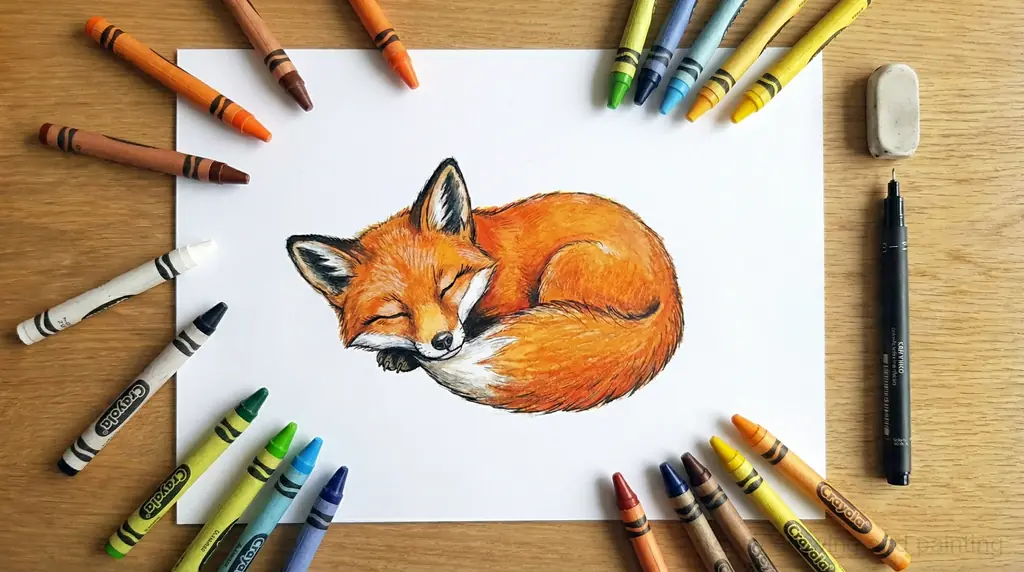
Let's bring this sunny garden to life! Use a wonderful variety of greens—deep emeralds, dusty sages, and light lime—to make each plant distinct. Don't forget those cute rosy tips some succulents get! Use terracotta browns and bright pastels for the pots and fill the ground with rich earth tones. See how vibrant and cheerful our little desert friends look now!

Community Drawings & Comments
Comments are coming soon! Stay tuned to share your masterpieces.